

This is a collaborative post
There is a lot of creativity inside of you. All of that is going to come out once you discover a few tips and tricks to give your photos and videos a completely different look. Which you can share with your loved ones and gather all the praises that come your way. This is not as difficult as it sounds with options related to PFP editor which gives you a step by step guide.
Table of Contents
But How Exactly Are You Going To Do All Of That?
What All Should You Focus On When Editing Your Pictures Or Learning How To Edit Them?
- First, Become comfortable with using Mac photos
- Learn how to import and organise your pictures so that you can find them easily
- Try editing them and adjusting their dimensions to make them look even more amazing
- Learn how to save and share your pictures online and using iCloud
- Use the photos app on your iPhone to edit, organise, and share all your images and videos
1 – Let’s Begin By Editing A Photo

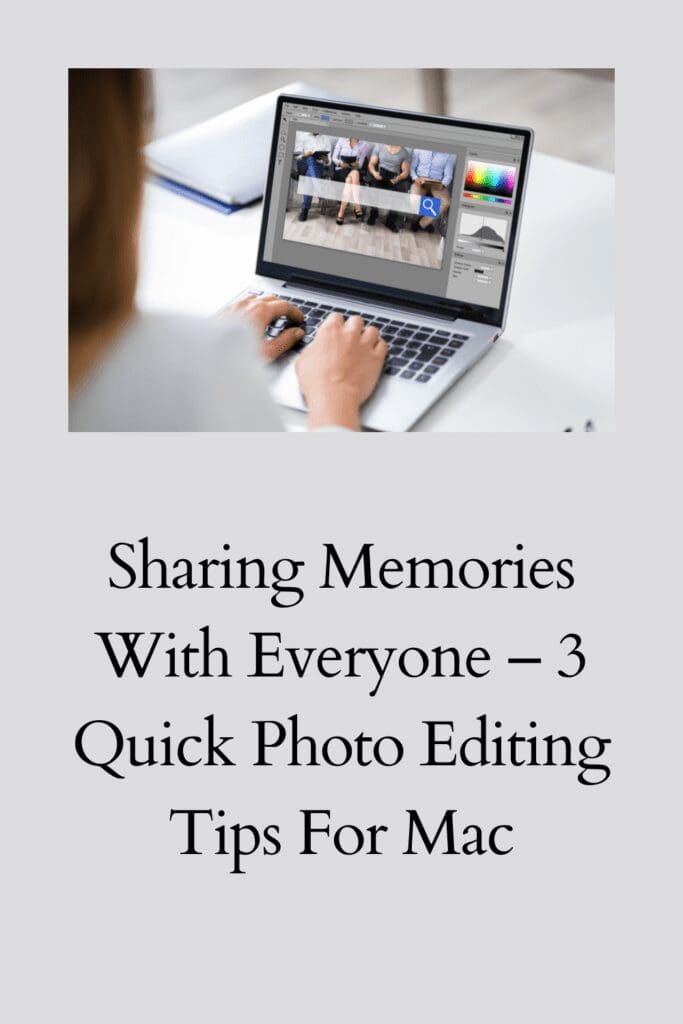
You can open the Photos App to make edits to a picture. Double-click on the original thumbnail and choose Edit in the Toolbar option. You can apply filters, crop the frame, rotate the photo, or do whatever you feel like. You can also reduce the red-eye effect by exhausting the saturation and brightness of the image. There is also the magic wand button that allows you to automatically enhance a photo or video. That’s right. Now you can just click Done and press Return. The changes are saved.
2 – Duplicating And Sharing Your Pictures

Now, duplicating and sharing your beautiful images with your friends, colleagues, co-workers, and your distant relatives is a lot of fun. You can start by duplicating your photo by simply selecting the item you want to copy. Go to the Duplicate Photo option. Whenever you perform this function, the duplicate item or album is going to appear in the Sidebar. You will have to adjust or make changes to this item to store it in the same folder as the original. Now, it’s time to encourage everyone to click on your image and go through your entire Instagram feed, and shower hearts and likes on them. There are numerous tips on how to link an image to your entire album stored on any platform of your choice whether it is Instagram, Facebook, or iCloud. Go have fun!
3 – Making Adjustments To Your Images

Making adjustments to your images is also very easy and a lot of fun. Just open the Photos App on your Mac. Double-click the image you want to make adjustments to and then click Edit in the Toolbar. You can now adjust the brightness, contrast, and saturation of the image to your liking. You can also transfer the same adjustments by choosing the image and then the copy adjustments option. Now you have to double-click the image on which you want to transfer these adjustments, click Edit, and select Paste Adjustments.
Wasn’t That Fun?
There is a lot that you can do with your images and videos on Mac. You just needed the right tips. And now you have them.




Thanks – my photos are not the best – hopefully they will improve from now on
I leave photos to my husband and daughter as mine are never great
I recently taught my parents how to edit photos and now every photo they send me has been edited in very extreme ways.
At least you know they listened to you, if not the way they were supposed to
Helpful post with lots of good tips – I wish I was better at things like this!
I am terrible at doing things like this, my husband is great so I just send him what I want doing